Ingredients
Equipment
Method
Step 1: Prepare the base
- Utilising a rolling pin or food processor, crush the Biscoff biscuits into thin crumbs. Stir them thoroughly with the melted butter.

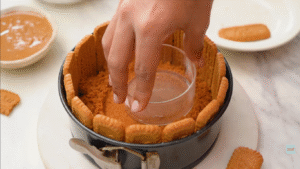
- Press this mixture into the base of your springform tin. Smooth it out evenly with the back of a spoon. While you prepare the filling, put it in the refrigerator.
Step 2: Make the filling
- Beat the cream cheese in a bowl until it’s smooth. Beat one more until creamy after adding the icing sugar.
- Now add the Biscoff spread and mix until well combined.
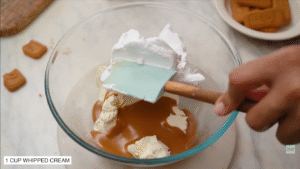
- In a separate bowl, whip the cold cream until soft peaks form. Using a spatula, gently incorporate it into the Biscoff-cream cheese mixture. Take care to avoid knocking out the air.
Step 3: Fill the tin
- Spoon the filling over the chilled biscuit base. Smooth out the top with a spatula.
- Refrigerate for at least 6 hours, or overnight if possible, until the cheesecake is set.
Step 4: Add the topping
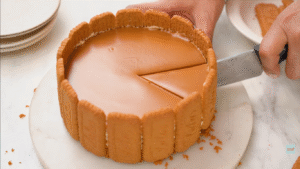
- Once the cheesecake is firm, gently melt the extra Biscoff spread in a small saucepan or microwave. Pour it over the top of the cake and spread evenly.
- Sprinkle the entire top or the edges with crumbled Biscoff biscuits. Let it chill for another 15–20 minutes so the topping sets.

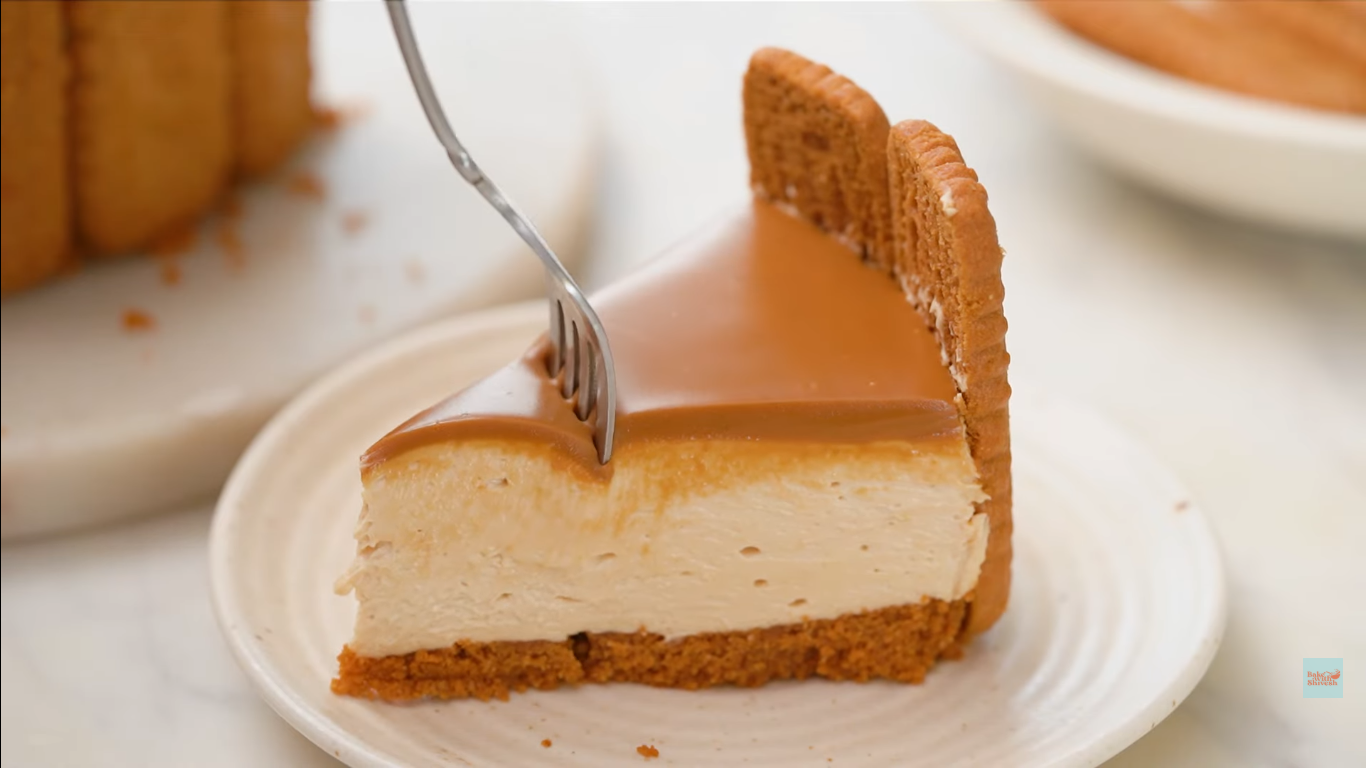
Step 5: Serve and enjoy
- Remove the cheesecake from the tin and slice with a warm knife. To ensure clean cuts, wipe the knife in between each slice. Enjoy every creamy bite!
Notes
Store this Lotus Biscoff cheesecake recipe in the fridge, covered with cling wrap or in an airtight container. It stays fresh for up to 4 days.
You can also freeze individual slices. Just wrap them well and thaw in the fridge before eating.
Freezing makes it super handy for last-minute guests or when you need a quick dessert ready to go.